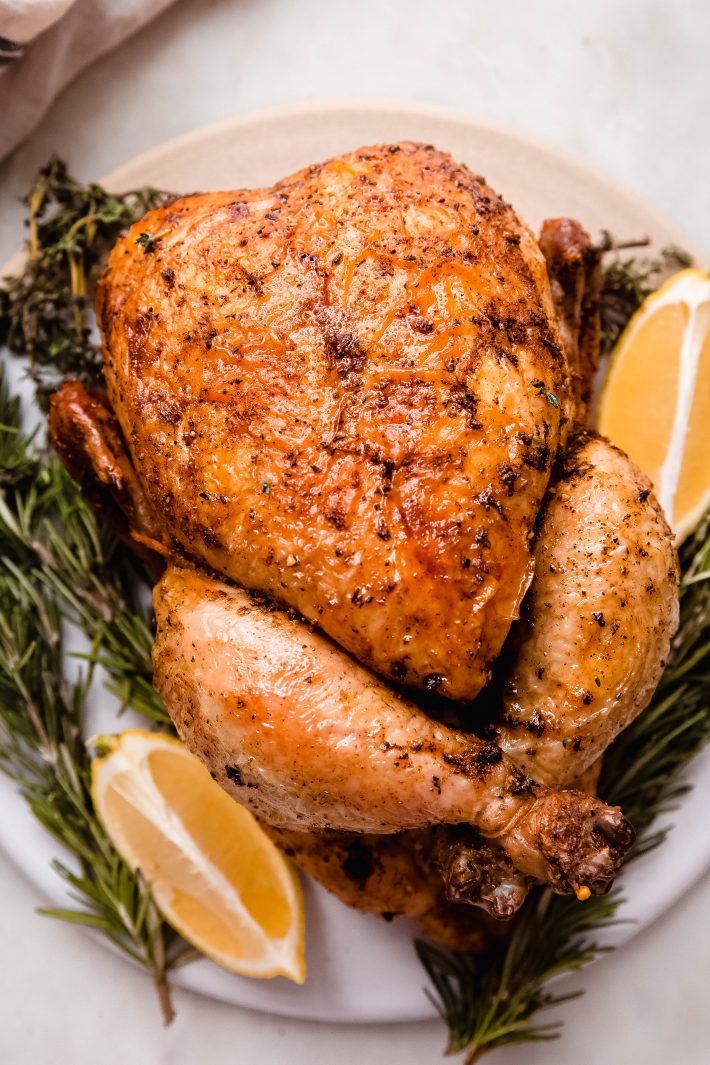
Oven Rotisserie Chicken (Faux-tisserie Chicken)
Oven rotisserie chicken is made using a handful of simple ingredients. Start by dry brining the chicken with salt. Then, season and roast it in the oven until the skin is golden and the chicken cooks all the way through! Perfect to serve for Sunday supper and great to keep around for quick dinners throughout the week!
FAUX-tisserie chicken.
As in chicken that we made in the oven to mimic the rotisserie chicken you buy from your favorite grocery store — only it tastes so much better.
We start by dry brining the chicken with salt and baking soda – more on that in a bit. Then we’ll rub it down with oil and season it with simple ingredients from the refrigerator and pantry. And when this chicken comes out of the oven, it’s fall-apart tender. You can serve the oven-roasted chicken as is with homemade mashed potatoes (ready in 20 minutes!) and with your favorite steamed or roasted veggies. And what’s leftover can be turned into bbq chicken nachos, chicken tortilla soup, white chicken chili, or lemon chicken orzo soup.
Bonus points if you use the bones to make homemade chicken stock. Sauté a few veggies, add the remaining bones and then let it simmer with some black peppercorns, bay leaves, and fresh thyme/rosemary. Let it hang out for a couple of hours, remove everything, let the stock simmer, and concentrate. Use it to make my homemade chicken corn soup or roasted garlic white chicken lasagna soup!
Homemade rotisserie chicken is the meal that keeps on giving!
What ingredients do you need to make an oven rotisserie chicken?
- Whole chicken: For this recipe, you’ll want to use a small 3.5-4 pound chicken. Remove the neck and gizzards from the chicken. And make sure to use a skin-on chicken. Skinless chicken will dry out too much in the oven and won’t work for this recipe.
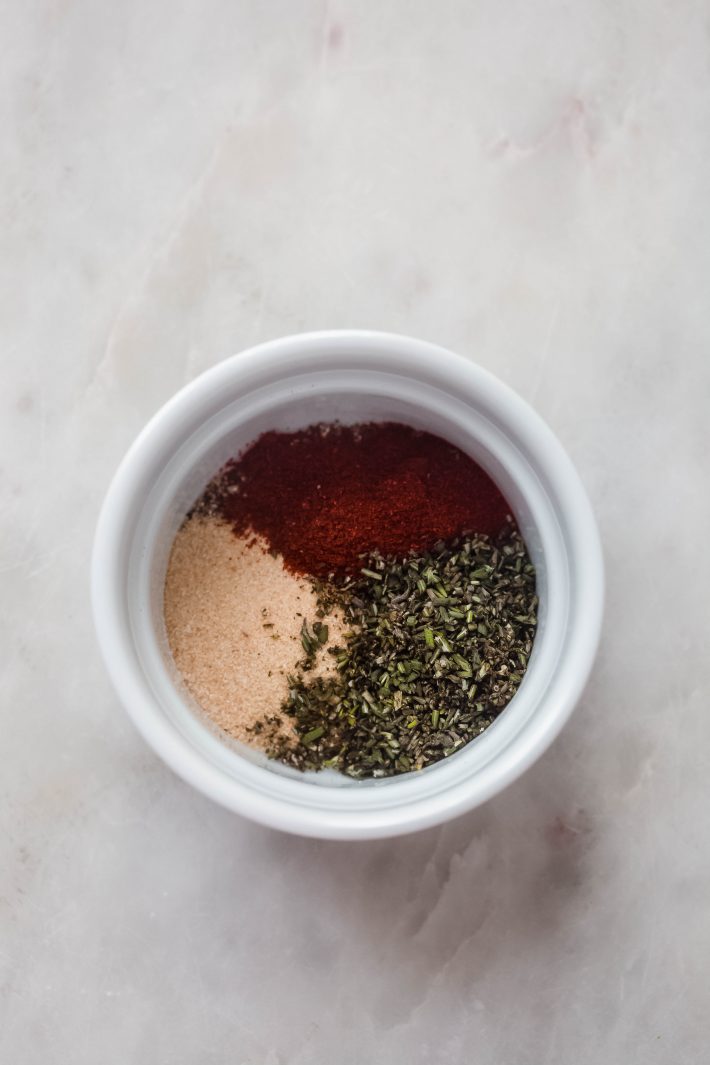
- Seasonings: You’ll need a good bit of kosher salt for this recipe, as well as baking soda, black pepper, garlic powder, and smoked paprika.
- Herbs: you’ll need fresh thyme and rosemary. If you don’t have fresh herbs on hand, you can replace them with dried herbs. I’d use a little less than what is listed if you have dried herbs; they are more potent.
- Lemon: cut the lemon into wedges. We’re going to put this in the cavity of the chicken while it roasts.
- High heat oil: I prefer to use melted ghee for this recipe instead of the high heat oil. However, both options work.
How to make the best oven rotisserie chicken:
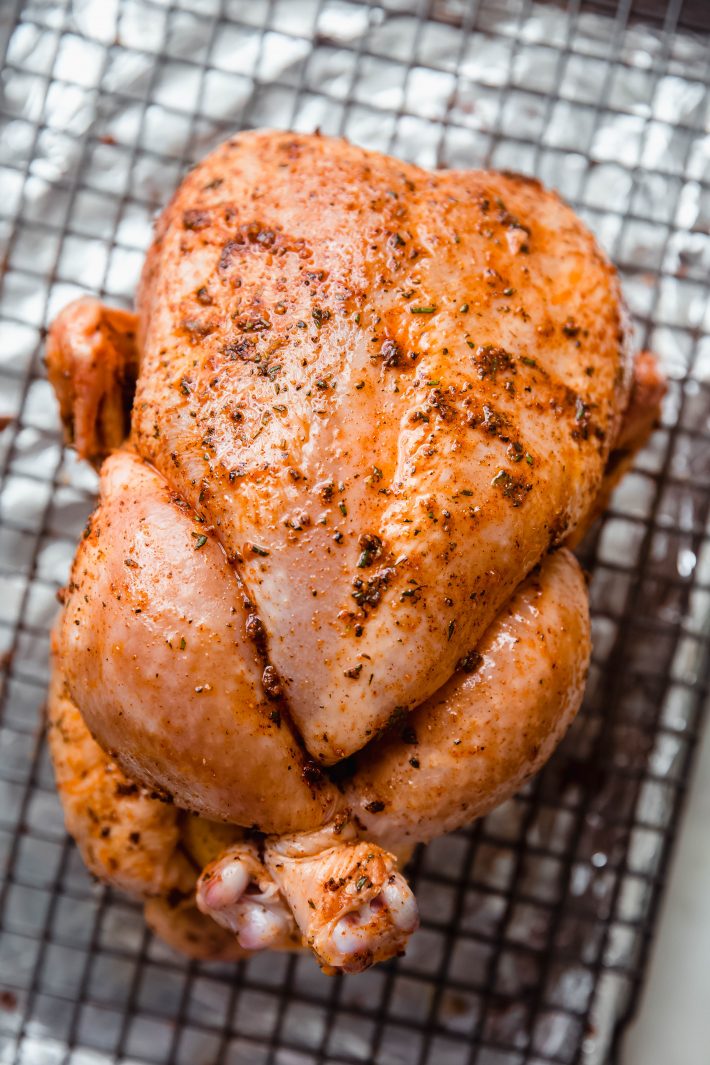
- Brine that bird. We’re using the dry brining method here. So you would pat the chicken dry and remove the neck and any other parts. Season the chicken with salt on the inside of the cavity. Then, rub a combination of baking soda and salt on the chicken and allow it to sit uncovered in the refrigerator for at least 10 hours. If you do not plan on dry brining the chicken, omit the baking soda entirely.
- Prep it. Preheat the oven and prepare by lining a sheet pan with a piece of foil. Then, place a wire rack on top and set it aside for now. The wire rack allows the heat to get under the chicken and cooks it more evenly like a rotisserie chicken! Then, wipe the chicken down using paper towels. You shouldn’t have too much liquid, but in case you do. In a small bowl, combine the ingredients for the seasoning. Rub the chicken with the melted ghee or oil, then rub the chicken with the seasonings – make sure to get the inside of the cavity too. Cut the lemon into wedges and place it inside the cavity. At this point, tie the legs together using kitchen twine and tuck the wings under the bird so the tips don’t burn.
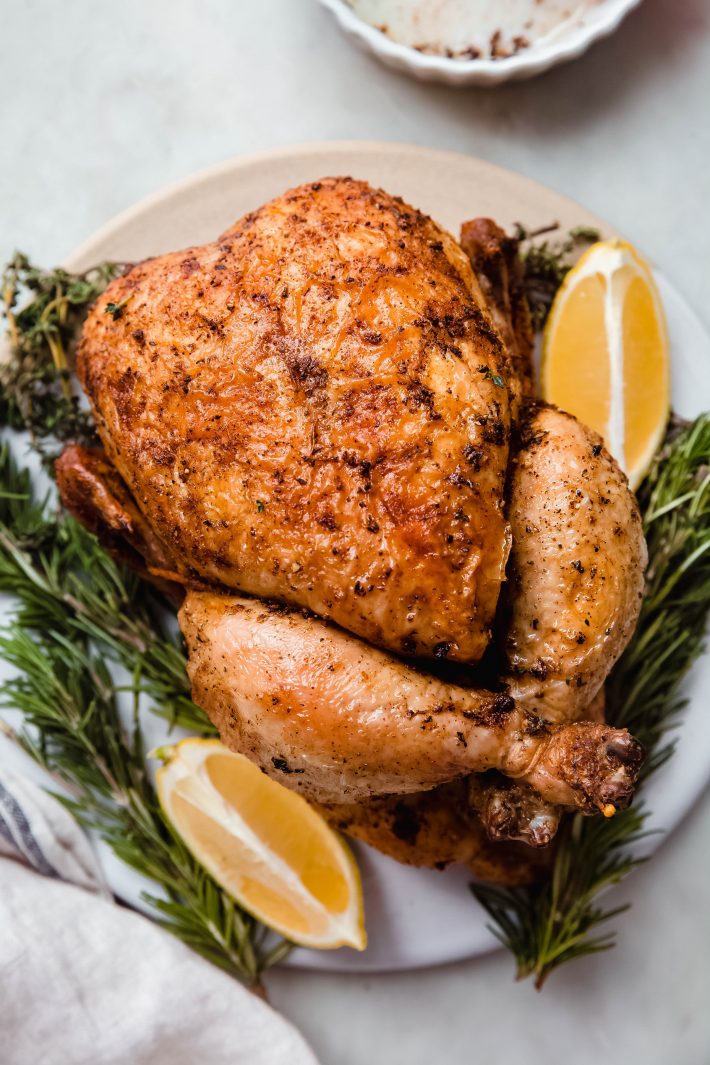
- Rotisserie chicken like a boss. Roast the chicken at high heat for 12 minutes. This will help jumpstart the process and give the skin a chance to render some of that fat off quickly and gain some color. Then, lower the heat and let it roast low and slow for 50-70 minutes or until the chicken reads around 163ºF on a digital thermometer. Keep in mind that carry overcooking will cook the chicken through to 165ºF as the chicken rests. Remove the chicken from the oven and allow it to rest for at least 15 minutes before carving.
Why do you dry brine roasted chicken with baking soda?
Dry brining with baking soda helps boost the browning process in the oven. The chicken will get crisper and much more golden in the oven because baking soda raises the chicken skin’s pH and allows the protein to break down better. However, it’s important to note that for this to work, you must allow it to rest in the refrigerator uncovered for at least 10 hours.
Top tips for homemade rotisserie chicken:
- Truss the chicken. It seems really daunting to think about taking a piece of kitchen twine and wrapping it around the chicken in such a way that it stays together and looks picture perfect when it comes out of the oven. But here’s the thing, you don’t have to truss the chicken if you don’t want to. I usually tie the legs together and tuck the wings under the bird – that’s it!
- Take the time to dry brine. I know it’s easy to skip this part but trust me, it’s so worth it. Allowing the chicken to dry brine with salt and baking soda for at least 10 hours before roasting will give you so much more flavor. Suppose you plan on roasting the chicken on Sunday, dry brine it Saturday afternoon – or even Saturday evening. Trust me; it will treat you well.
- Roast two instead of one. If you plan on serving this for dinner as is and want to have more chicken around for meals throughout the week, roast two. It will take the same amount of time. I suggest using at least a half sheet pan so two birds can fit side by side.
- Check the temperature. Check the temperature of the chicken using a digital thermometer inserted in the thickest part of the chicken. Don’t guess here. You don’t want it to be under/overcooked.
- Rotisserie Chicken. If you own a rotisserie oven or a rotisserie attachment for your grill, you can make this chicken on that for even better flavor. My suggestion would be to follow the manufacturer’s recommendations based on the weight of the chicken. Keep in mind that you’ll want to allow plenty of time for carryover cooking, so be sure to let the chicken rest afterward.
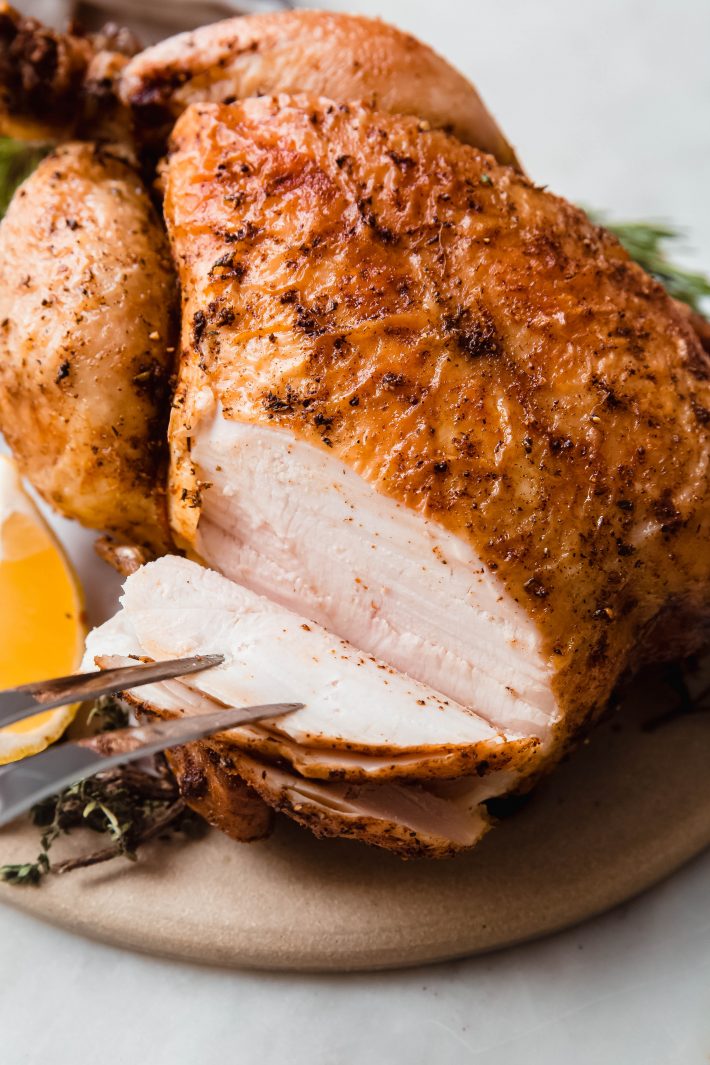
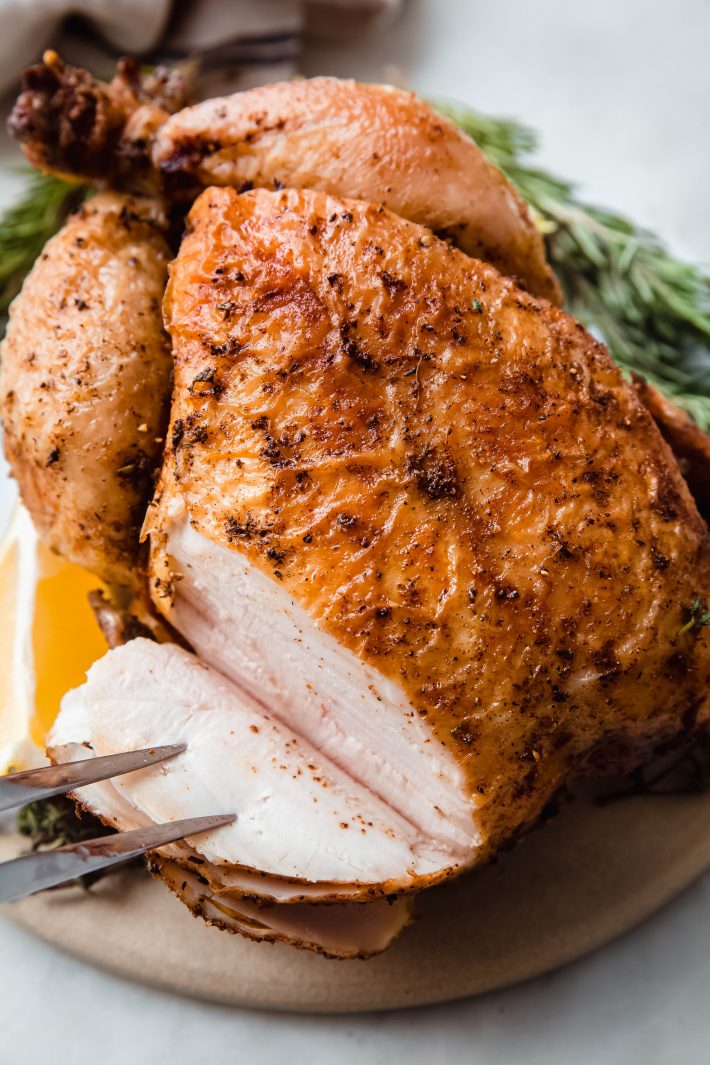
- Carve with a carving knife. Yes, the same carving knife you use for a turkey! Remove kitchen twine and cut around the legs. The wings will pop right off with a twist. Then, use the knife to separate the thigh from body. Slice down the center of the breastbone then turn the knife almost 90º and cut outwards. Hold on to the bones – they make a delicious stock!
What to serve with slow-roasted chicken:
- Seriously Amazing Cheddar Mashed Potatoes
- Bubbly, Cheesy Cauliflower Casserole
- Golden Brown Garlic Butter Roasted Carrots
- Autumn Crisp Apple Sweet Potato Salad
- Crunchy Parmesan Toasted Bread Kale Caesar Salad
And there are tons of other ideas here!
How to use leftover chicken:
- Chicken Tetrazzini
- Fried or Baked Chicken Taquitos
- Winter Lemon Chicken Barley Soup
- Chicken Pot Tater Tot Hotdish
- Mexican Chicken Noodle Soup
Oven Rotisserie Chicken (Faux-tisserie Chicken)
Oven rotisserie chicken is made using a handful of simple ingredients. Start by dry brining the chicken with salt. Then, season and roast it in the oven until the skin is golden and the chicken cooks all the way through! Perfect to serve for Sunday supper and great to keep around for quick dinners throughout the week!

Ingredients
- 1 (3.5-4 pound) small whole chicken
- 4 teaspoons kosher salt (up the salt by 1 teaspoon if not dry brining)
- 1 teaspoon baking soda
- 1 whole lemon
- 1 teaspoon EACH: fresh chopped thyme AND rosemary
- ½ teaspoon black pepper
- 1 teaspoon EACH: smoked paprika AND garlic powder
- 2 tablespoons melted ghee (or high heat oil)
Instructions
- DRY BRINE: Ideally 10-24 hours before making this recipe, dry brine the chicken. Place the chicken on clean surface. Remove the neck, giblets, and wipe down the bird using paper towels. You’ll want to take 1 teaspoon of salt and rub the inside cavity of the chicken with the salt. Take the remaining 3 teaspoons of kosher salt combine with the baking soda and dry rub the outside of the chicken, including the underside, with this mixture. Be sure to get under the wings, and all around the thighs. Place the chicken on a wire rack set on top of a baking sheet and place in the lowest rack of the refrigerator.
- SEASON: Position a rack in the enter of the oven and preheat the oven to 450ºF. Line a sheet pan with foil, top with a wire rack and set aside for now. Remove the chicken from the refrigerator while the oven is preheating. Wipe the entire chicken down with a paper towel to remove any moisture that might be on the skin, including the inside cavity. In a bowl, combine the rosemary, fresh thyme, black pepper, paprika and garlic powder. Rub the bird with the high heat oil (or ghee.) Sprinkle the inside cavity with a bit of the seasoning. Rub the spice mix all over the outside of the chicken. Cut the lemon into quarters. Place the lemon inside the cavity. Place the chicken on the wire rack. Using kitchen twine, tie the legs of the bird together and tuck the wings under the bird so that the tips don’t burn.
- BAKE: Roast the chicken for 12 minutes at 450ºF, then drop the oven temperature down to 350ºF and continue roasting the chicken for 50-70 minutes or until the chicken reads 163ºF on an instant read thermometer when tested in the thickest part. At that point, remove the chicken from the oven, carryover cooking will cook the chicken as it rests and it will hit 165ºF. Let the chicken rest for at least 15 minutes before carving. The chicken will retain its juiciness better this way!
Notes
- For best results, I do suggest dry brining the chicken. Please see the post for why it's important to dry brine the chicken. If you do not dry brine the chicken, omit the baking soda.
- A larger chicken will also work for this recipe, however, you'll want to increase 1 teaspoon of salt for every pound of chicken you use over what is listed and you'll also need to roast the chicken for longer; about 15-20 minutes more per pound.